Remediation is a 5-step process: triage (using EPSS + KEV to set priority), assess impact (direct vs transitive, breaking changes), apply the fix (version bump, override, or workaround), verify (re-scan to confirm resolution), and monitor (watch for regressions and new findings). Each ecosystem has specific override mechanisms for transitive dependency fixes.
Overwhelmed before you even get to remediation? If your scanner just dumped hundreds of findings on you and you don't know where to start, read What to Do When Your Scanner Finds 200 CVEs first — it covers the triage step in depth before you reach this remediation workflow.
You ran a scan. You have 83 findings. You know which ones to fix first (thanks to the 3-Signal Triage Method). Now comes the hard part: actually fixing them without breaking your application.
This is where most teams stall. The scan gives you a list of CVEs and affected versions. It doesn't tell you how to upgrade a deeply nested transitive dependency, what to do when the fixed version has breaking changes, or how to verify the fix actually resolved the vulnerability.
Here's the workflow that works — it follows the same triage-then-patch structure NIST SP 800-40 recommends for enterprise patch management, adapted to dependency-specific realities like transitive overrides and breaking-change upgrades.
The 5-Step Remediation Workflow
┌─────────────────────────────────────────────────────────┐
│           Vulnerability Remediation Workflow              │
│                                                           │
│  Step 1: TRIAGE ──→ Which findings need action now?      │
│       │                                                   │
│  Step 2: ASSESS ──→ What breaks if we upgrade?           │
│       │                                                   │
│  Step 3: FIX ────→ Apply the right fix strategy          │
│       │                                                   │
│  Step 4: VERIFY ──→ Confirm the vulnerability is gone    │
│       │                                                   │
│  Step 5: MONITOR ─→ Watch for regressions and new CVEs  │
│                                                           │
└─────────────────────────────────────────────────────────┘
Step 1: Triage — Set Priority Order
Before touching any code, sort your findings by actual risk using the 3-Signal Triage Method. If you haven't scanned yet, run a scan first — triage only works once you have findings to sort:
- CISA KEV entries first (and anything above 0.9 EPSS) — confirmed or near-certain exploitation. 24-hour SLA.
- High EPSS (0.7–0.9) next — high probability of exploitation within 30 days. 1-week SLA.
- Medium EPSS (0.3–0.7) — elevated risk. 2-week SLA.
- Lower EPSS (0.1–0.3) — 30-day SLA.
- Everything else — routine maintenance. Quarterly cycle.
This prevents the common failure mode of spending three days on a CVSS 9.8 that nobody's exploiting while a CVSS 4.0 on CISA KEV sits unpatched.
Step 2: Assess — Understand the Impact
For each finding you're about to fix, answer three questions:
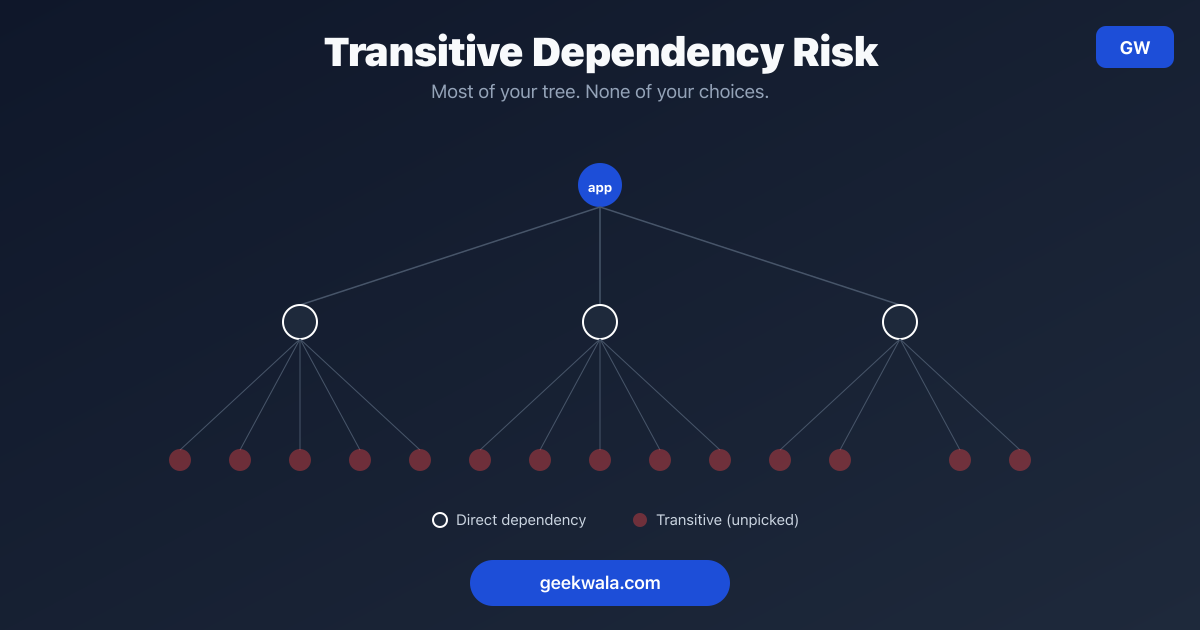
Is it a direct or transitive dependency?
Direct dependency (you control the version):
  package.json:  "express": "^4.17.0"
  Fix: Bump version in your manifest. Usually straightforward.

Transitive dependency (someone else controls the version):
  your-app → some-framework → vulnerable-lib@1.2.3
  Fix: More complex. See ecosystem-specific strategies below.
Direct dependencies are straightforward — bump the version in your manifest file. Transitive dependencies are trickier because you don't directly control the version. You'll need to use ecosystem-specific override mechanisms or wait for the parent package to update.
Does the fixed version have breaking changes?
Check the changelog or release notes of the target version. A patch release (4.17.1 → 4.17.2) is almost always safe. A minor release (4.17 → 4.18) is usually safe but deserves a test run. A major release (4 → 5) will likely require code changes.
Is the vulnerability reachable in your code?
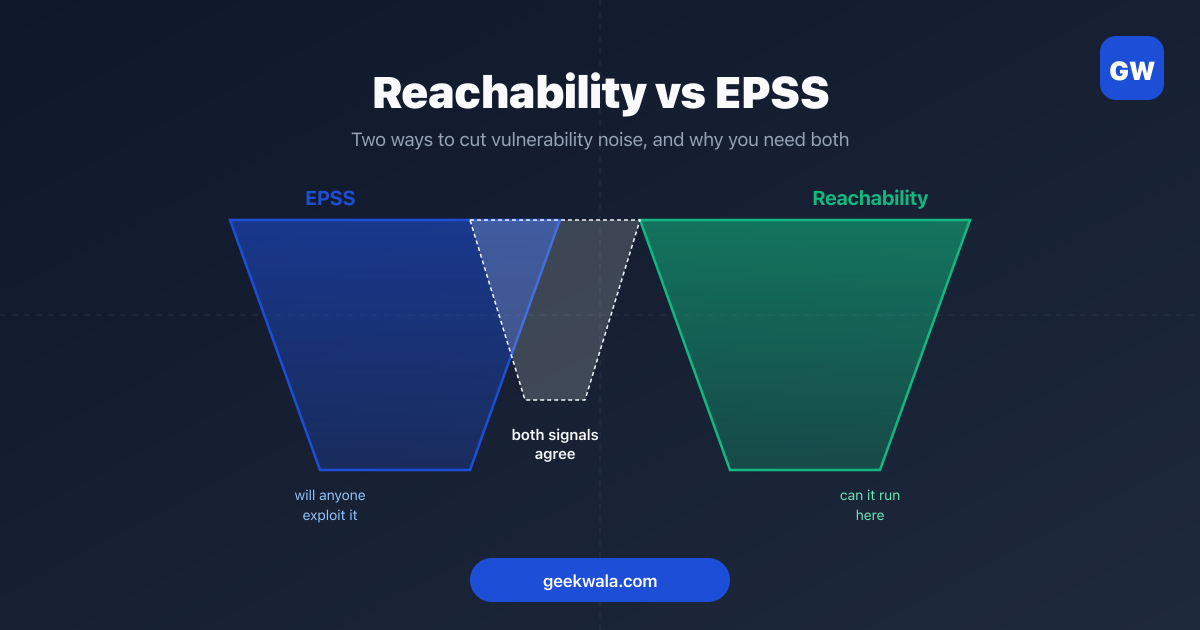
Not all vulnerable code paths are exercised by your application. If you can confirm the vulnerability isn't reachable (the affected function is never called), you can lower the priority — but still patch it eventually. Don't use reachability as an excuse to never patch.
Step 3: Fix — Apply the Right Strategy
Strategy A: Version Bump (Preferred)
The simplest fix. Bump the dependency to a version that includes the security patch.
# npm
npm install express@4.18.2

# pip
pip install requests==2.31.0

# Maven (pom.xml)
<dependency>
  <groupId>com.example</groupId>
  <artifactId>library</artifactId>
  <version>2.5.1</version>  <!-- was 2.4.0 -->
</dependency>

# Go
go get golang.org/x/net@v0.17.0

# .NET
dotnet add package Newtonsoft.Json --version 13.0.3
After bumping, run your test suite. If tests pass, you're done. If they don't, check whether the new version has breaking changes or if your tests were relying on the vulnerable behavior.
Strategy B: Override Transitive Dependencies
When the vulnerable package is a transitive dependency and the parent hasn't updated yet, you can force the version using ecosystem-specific override mechanisms:
npm — overrides in package.json:
{
  "overrides": {
    "vulnerable-lib": ">=2.0.1"
  }
}
This forces all instances of vulnerable-lib in your dependency tree to resolve to 2.0.1 or higher. Use with caution — the parent package may not be compatible with the newer version.
pip — constraints.txt:
# constraints.txt
vulnerable-lib>=2.0.1
pip install -c constraints.txt -r requirements.txt
Constraints pin versions without adding direct dependencies. They're the cleanest way to force transitive upgrades in Python.
Maven — dependencyManagement:
<dependencyManagement>
  <dependencies>
    <dependency>
      <groupId>com.example</groupId>
      <artifactId>vulnerable-lib</artifactId>
      <version>2.0.1</version>
    </dependency>
  </dependencies>
</dependencyManagement>
This overrides the version resolved by Maven's dependency mediation, forcing all transitive references to use 2.0.1.
Go — replace directive:
// go.mod
replace vulnerable-lib v1.2.3 => vulnerable-lib v2.0.1
.NET — Directory.Packages.props:
<PackageVersion Include="VulnerableLib" Version="2.0.1" />
Strategy C: Workaround (When No Fix Exists)
Sometimes there's no patched version yet. Options:
- WAF rules to block exploit payloads targeting the vulnerability
- Configuration changes to disable the vulnerable feature
- Code changes to avoid calling the affected function
- Dependency replacement — switch to a different library that provides the same functionality
Document the workaround and set a reminder to check for a proper fix. Workarounds are temporary — they address the symptom, not the cause.
Step 4: Verify — Confirm the Fix
A version bump isn't a fix until you've confirmed the vulnerability is gone. Three verification steps:
1. Re-scan your dependencies
Run the same scan that found the vulnerability. The finding should disappear. If it doesn't, the version you upgraded to may still be in the affected range, or the vulnerability may exist in a different transitive path.
2. Run your test suite
Your existing tests should pass. If they don't, the fix introduced a regression. Debug the failure — don't revert the security patch and call it unfixable.
3. Check for new findings
Upgrading a dependency can pull in new transitive dependencies that have their own vulnerabilities. A clean scan before the upgrade doesn't guarantee a clean scan after. Re-scan to catch any new findings introduced by the fix.
Before fix:  83 findings (including the target CVE)
After fix:   81 findings (target CVE resolved, no new findings)  ← ideal
             84 findings (target CVE resolved, 2 new findings)   ← investigate
             83 findings (target CVE still present)              ← fix didn't work
Step 5: Monitor — Watch for Regressions
Remediation doesn't end at deployment. Ongoing monitoring catches:
- EPSS score spikes on vulnerabilities you deprioritized
- New CVEs in packages you just upgraded
- Dependency drift when team members add new packages without scanning
- New CISA KEV entries matching your dependency tree
Set up scheduled scans (daily for production, weekly for staging) so each re-scan ranks findings by today's EPSS. A vulnerability that was safely deprioritized at EPSS 0.02 needs re-evaluation if it jumps to 0.5.
Common Remediation Mistakes
Mistake: Using --force without understanding the consequences
npm audit fix --force performs major version bumps that can break your application. Always try npm audit fix (without --force) first. For pip, avoid pip install --upgrade on transitive dependencies without constraints. For Maven, avoid wildcard version ranges.
Mistake: Fixing the direct dependency when the vulnerability is transitive
If vulnerable-lib is pulled in by some-framework, bumping some-framework might not update vulnerable-lib. Check your dependency tree (npm ls, pip show, mvn dependency:tree) to confirm the transitive version actually changed.
Mistake: Skipping verification
"I bumped the version, so it's fixed" is the #1 cause of vulnerabilities surviving remediation. Always re-scan. The version you bumped to might still be in the affected range (e.g., the fix is in 2.0.1 but you bumped to 1.9.5).
Mistake: Treating every finding as equally urgent
This is the fastest path to team burnout and dropped patches. Use the 3-Signal Triage Method to separate the few percent of CVEs that are actually exploited — at most ~6%, and nearer 1–2% by stricter datasets — from the overwhelming majority that are routine maintenance.
Frequently Asked Questions
How do I handle a vulnerability when no patched version exists?
Apply a workaround (WAF rule, configuration change, or code-level mitigation), document it, and set a calendar reminder to check weekly for a patch release. If the vulnerability is on CISA KEV with no patch available, escalate to your security team — you may need to disable the feature or switch libraries entirely.
Should I automate remediation?
Automate cautiously. Automated version bumps for patch releases (semver patch) are generally safe and worth automating. Minor version bumps should generate PRs for human review. Major version bumps should never be automated — they require manual assessment of breaking changes.
What if upgrading breaks our application?
If your test suite catches the breakage, you have two options: fix your code to work with the new version (preferred) or use an override to pin the secure version while you plan the migration. Don't revert the security patch and leave the vulnerability open — find a path forward.
How do I track remediation progress across multiple projects?
Use your scanner's dashboard to track findings across projects over time. Key metrics: mean time to remediate (MTTR) for KEV entries, percentage of findings resolved within SLA, and trend of open findings over time. If MTTR for KEV entries is above 48 hours, your remediation process needs work.
What's the difference between remediation and mitigation?
Remediation removes the vulnerability (typically by upgrading to a patched version). Mitigation reduces the risk without removing the root cause (WAF rules, configuration changes, network controls). Remediation is always preferred. Mitigation is a temporary measure when remediation isn't immediately possible.
Ready to go from findings to fixes?
Scan your dependencies now → — get every finding enriched with EPSS and CISA KEV status, sorted by actual risk, so you know exactly where to start your remediation workflow. No account needed.